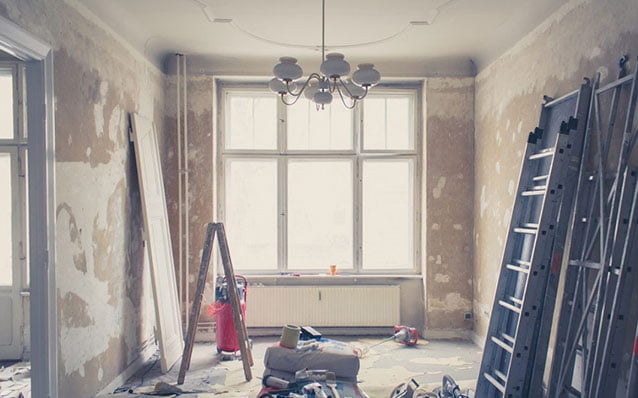
It’s a great feeling when a renovation project is finally finished. There’s no more noisy construction, the workers have all gone, and you’re ready to cook up a storm in your brand new kitchen. But unfortunately, post-renovation cleaning is essential. There’s always a considerable amount of construction dust, scrap waste, and other debris everywhere after any major renovation, so you’re going to have to deal with all that mess first.
While renovation contractors will always do whatever they can to reduce the amount of construction dust during renovations, it’s unfortunately inevitable. No amount of plastic tarps and taped off rooms will prevent it from finding its way throughout your home and building up over time. The construction dust always accumulates in places you’d least expect, like behind pictures, inside cupboards, on ceiling fans, over light fixtures, and even in adjacent rooms of your house. And considering construction dust can harm your respiratory system, it’s incredibly important to ensure it has been properly removed from your kitchen.
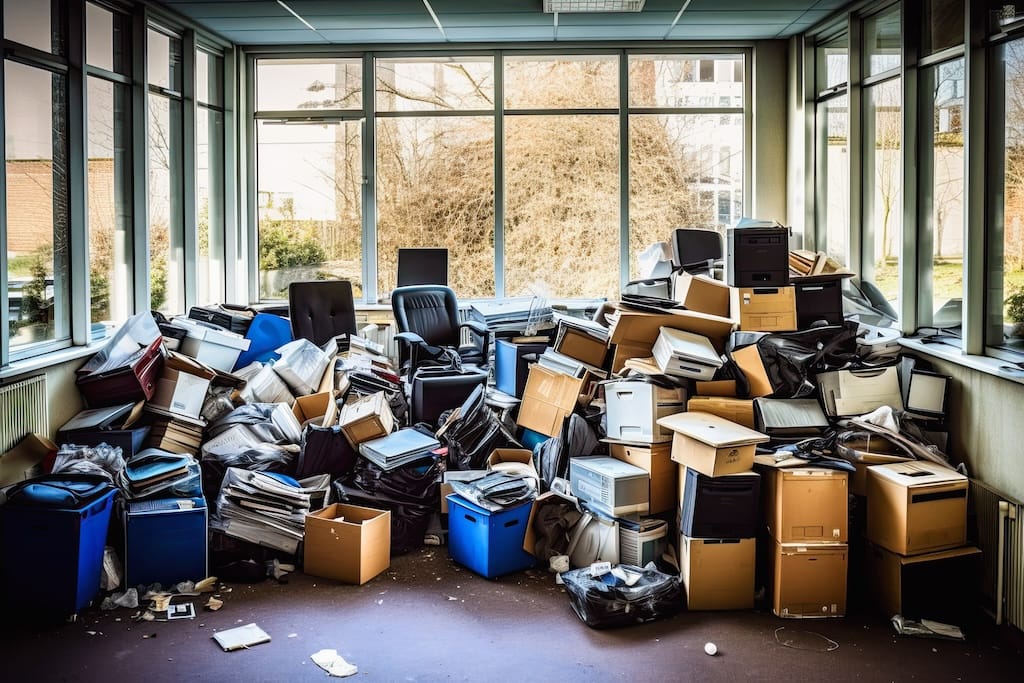
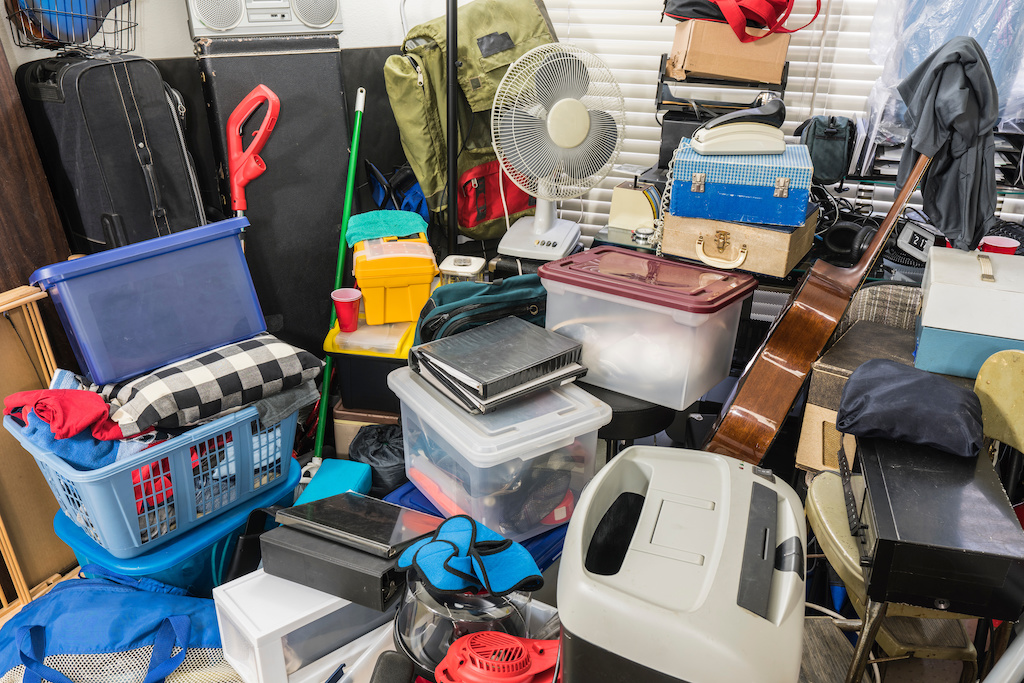
It can be pretty discouraging seeing all the mess left behind after a kitchen renovation. There are old fixtures and building debris everywhere, construction dust in every nook and cranny, massive mountains of plastic cover sheets. And what are you going to do with your old stove and kitchen sink?
Before you get too overwhelmed about it all, here is an easy to follow checklist for cleaning up after a kitchen renovation.
Cleaning Products
Before you can start the big post-renovation clean-up, make sure you have all the necessary cleaning products and tools to get the job done. Here’s a list of items you’ll typically need when cleaning up after a kitchen reno:
- Vacuum cleaner
- Mop and bucket
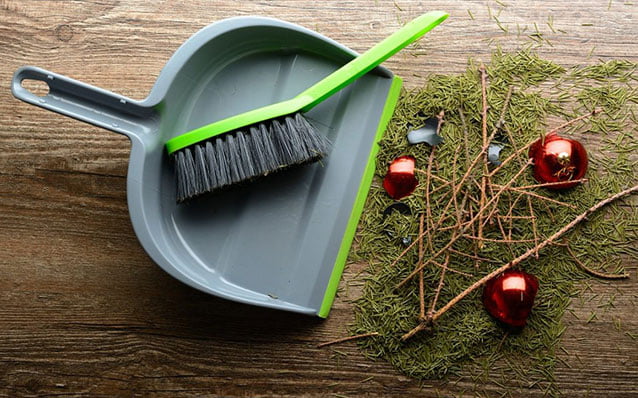
- Dustpan & broom
- Trash bags
- Cleaning chemicals
- Old rags
- Microfibre cloths
- Step-ladder
- Industrial rubber gloves
- Clear safety glasses
- N95 respirator mask
Construction dust isn’t the only health hazard after a renovation. Most of the chemical products used during construction give out toxic fumes which often linger for many days, such as fresh paint, lacquer, and primer. Plus, many cleaning products aren’t healthy to breathe in either. So aside from wearing a mask and any other protective equipment, you should also open all windows so the kitchen is well-ventilated before starting to clean.
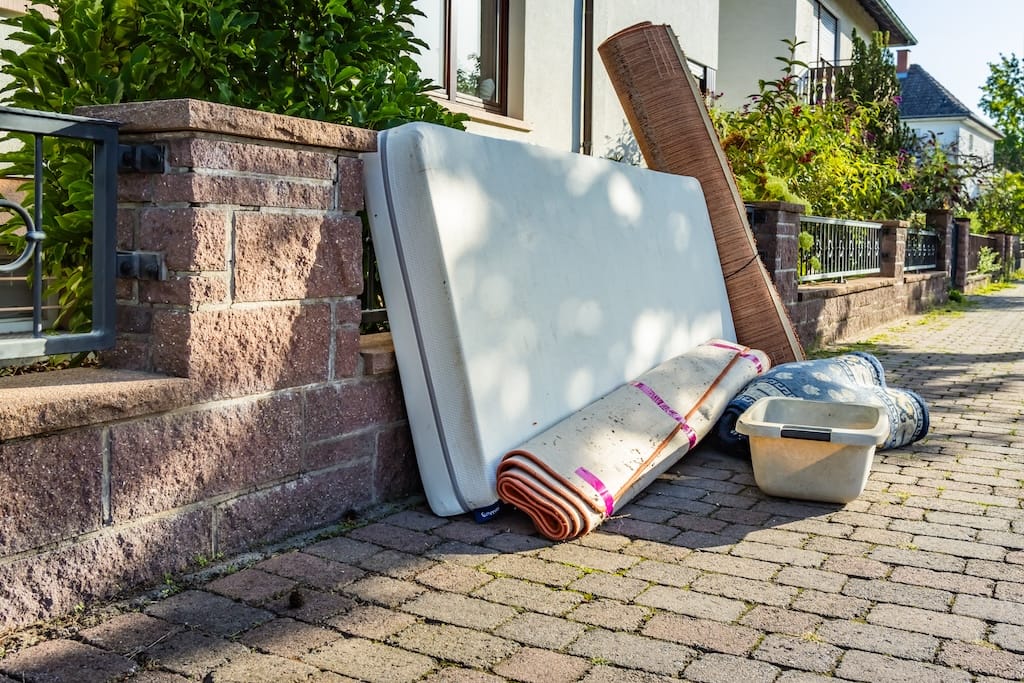
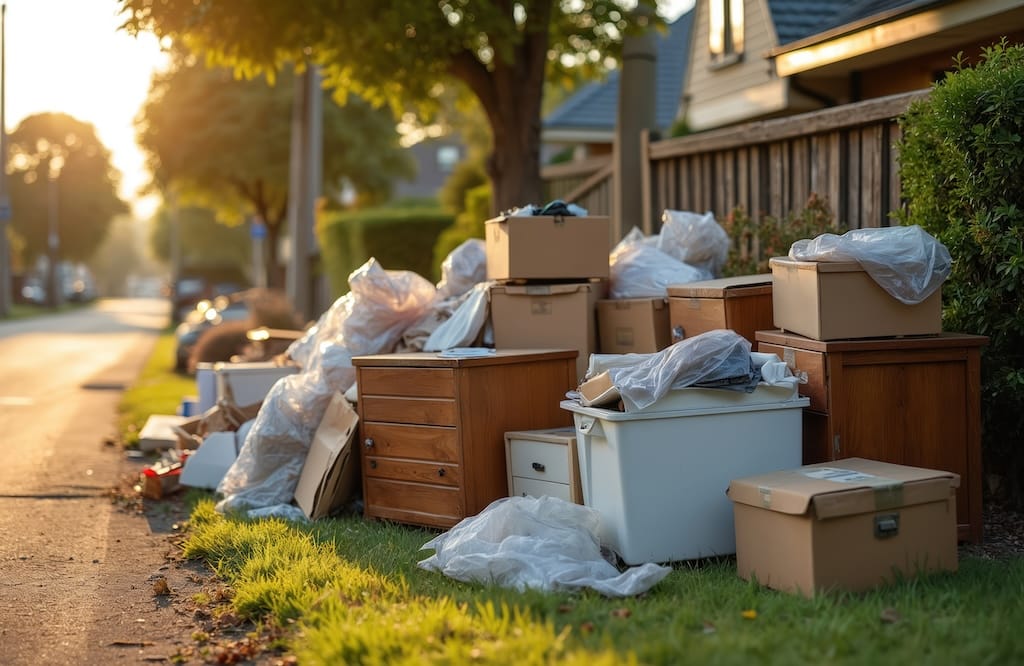
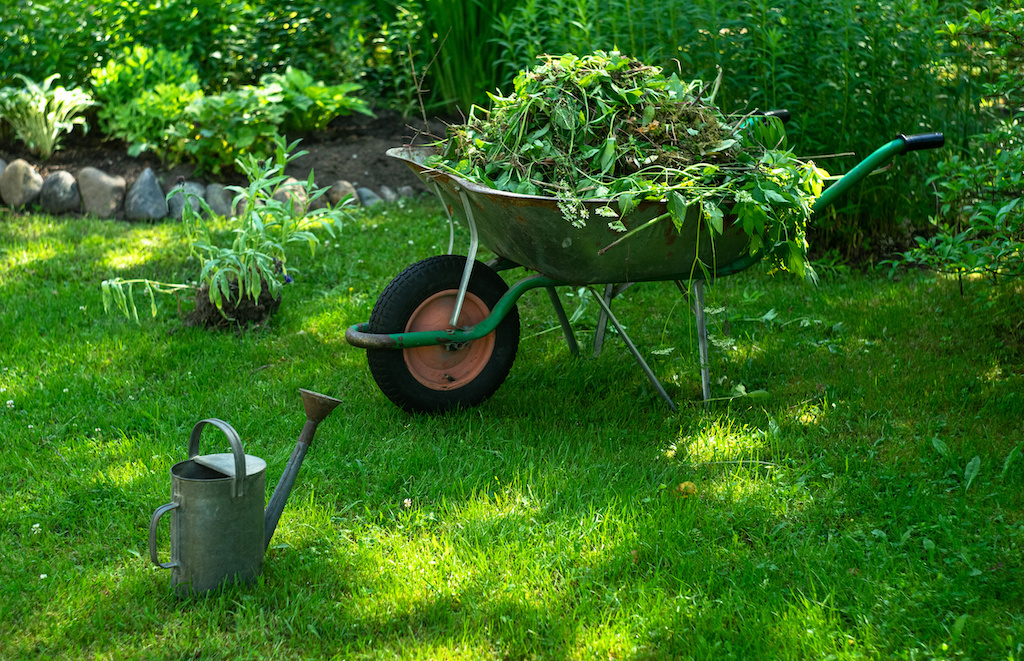
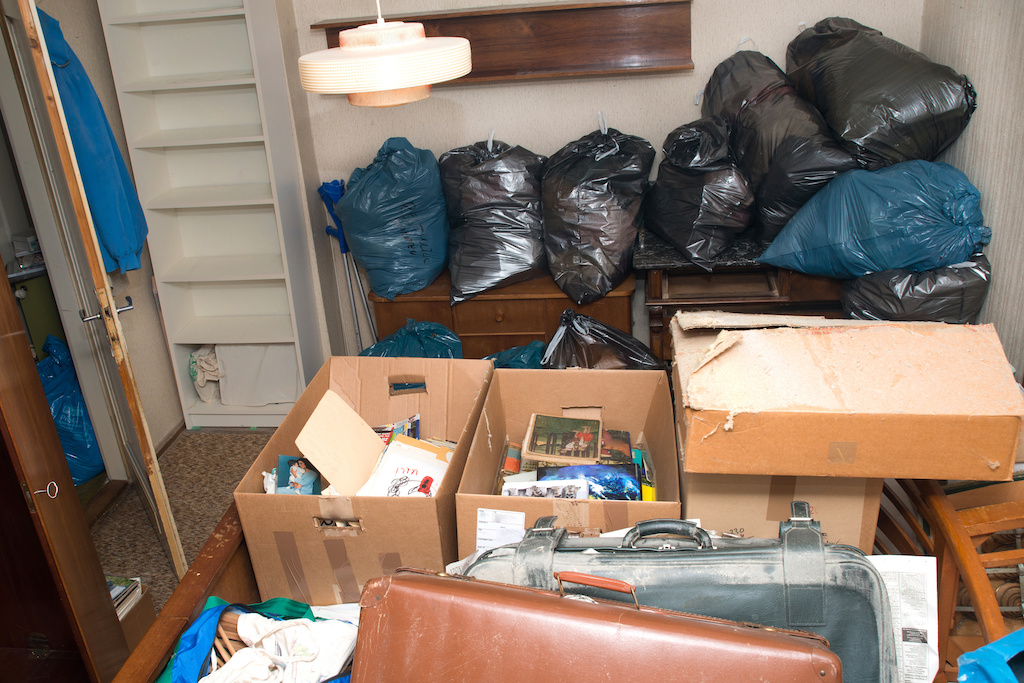
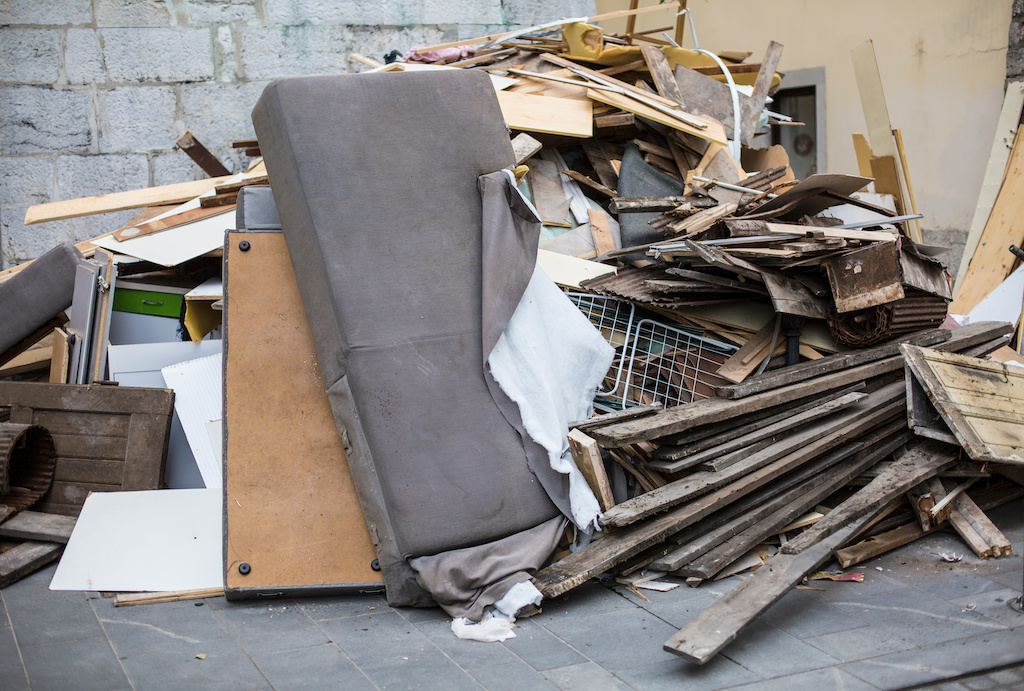
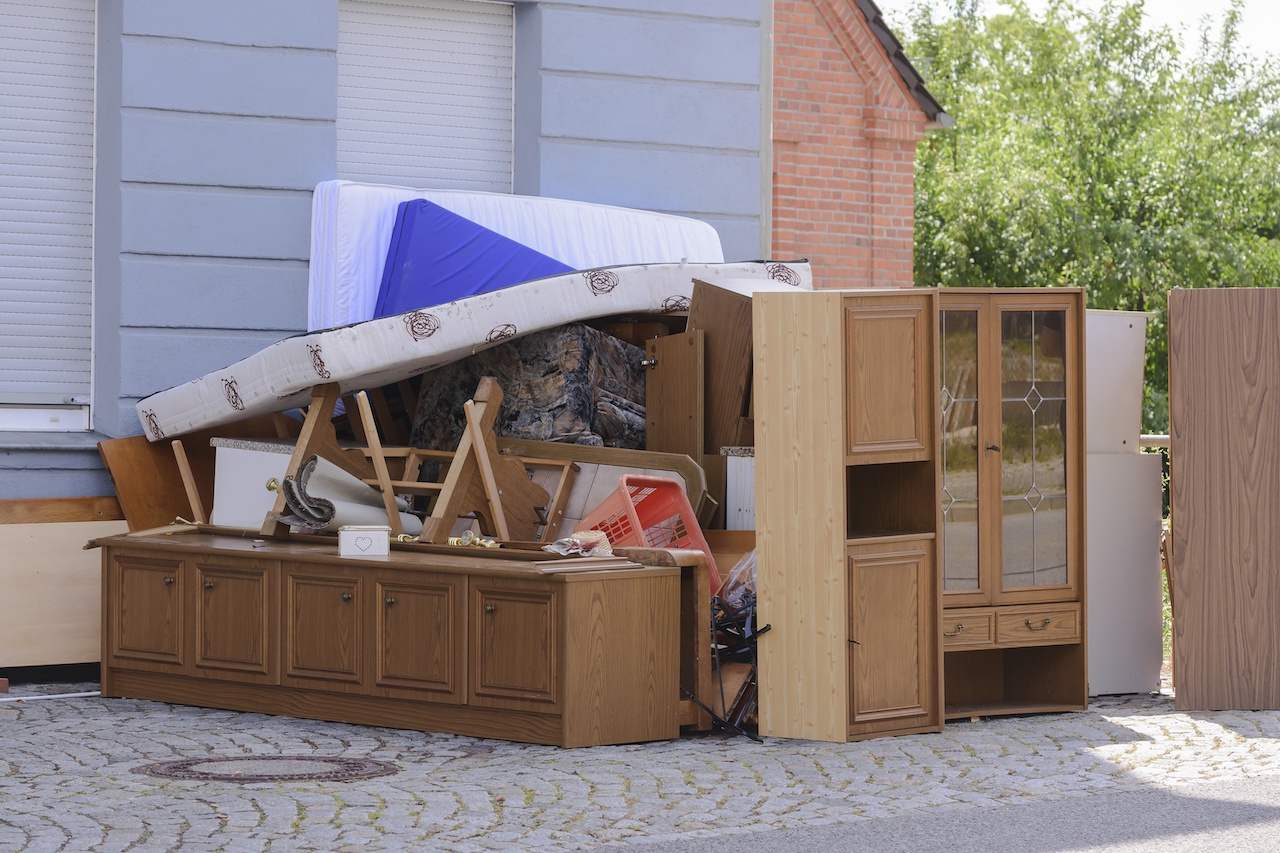
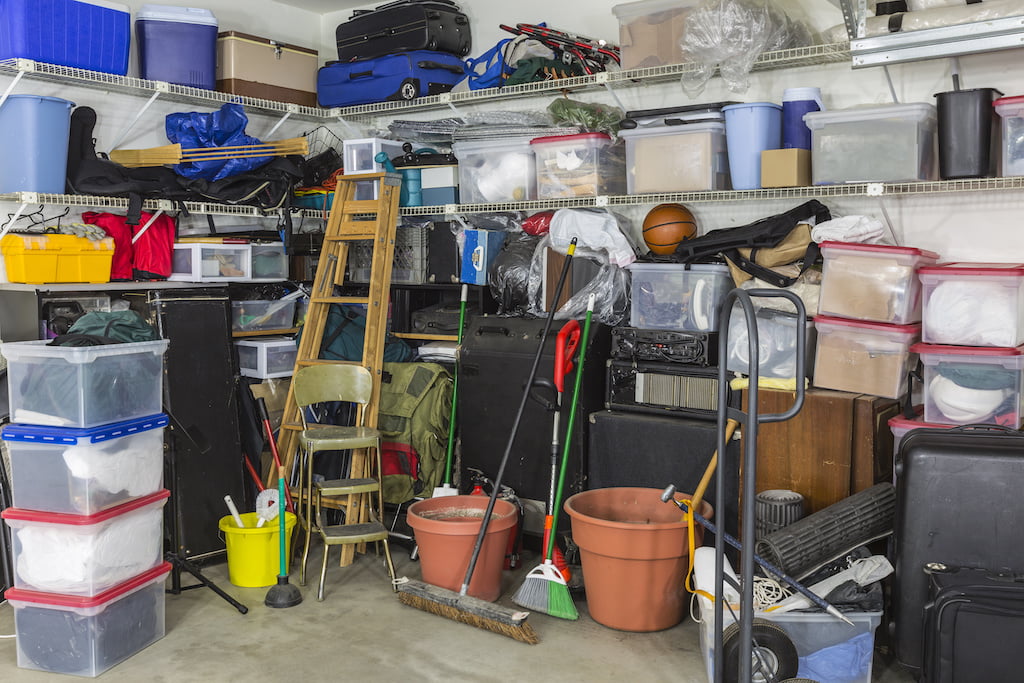
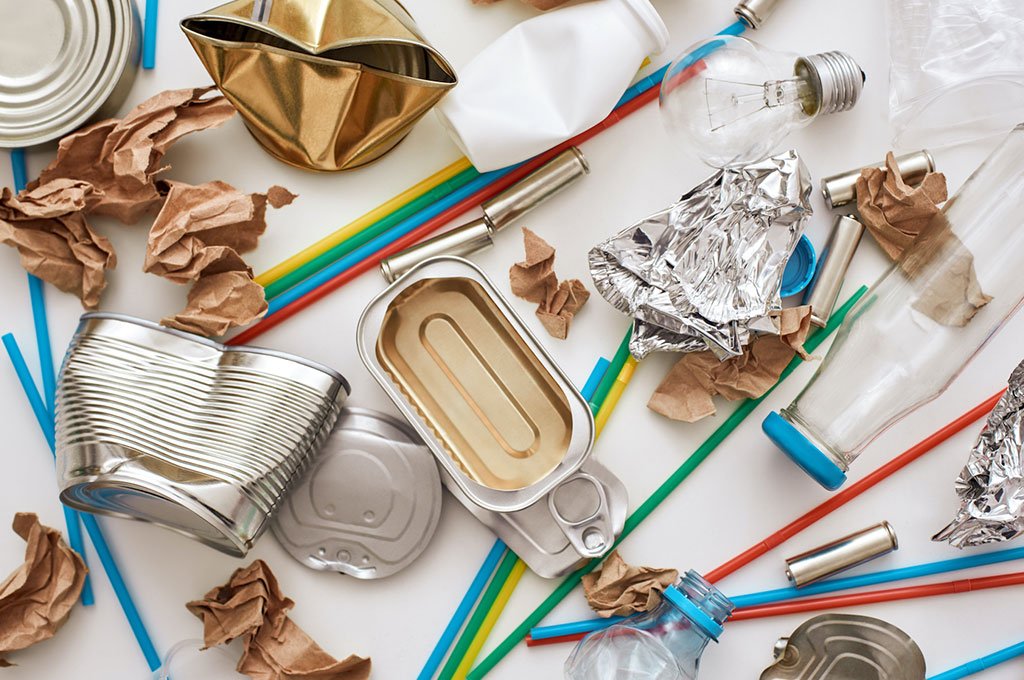
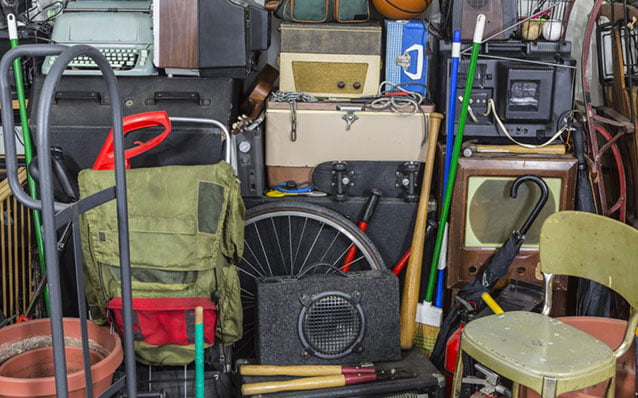
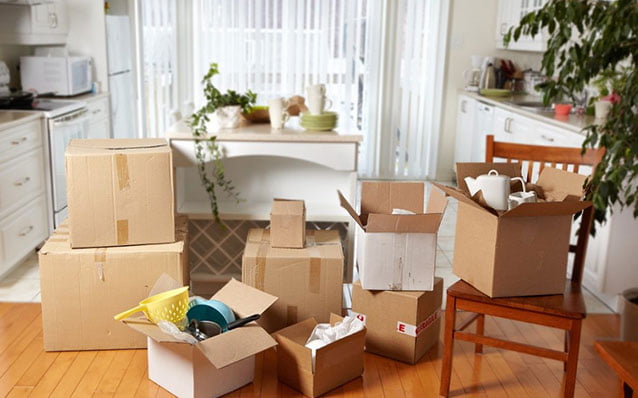
Renovation Waste
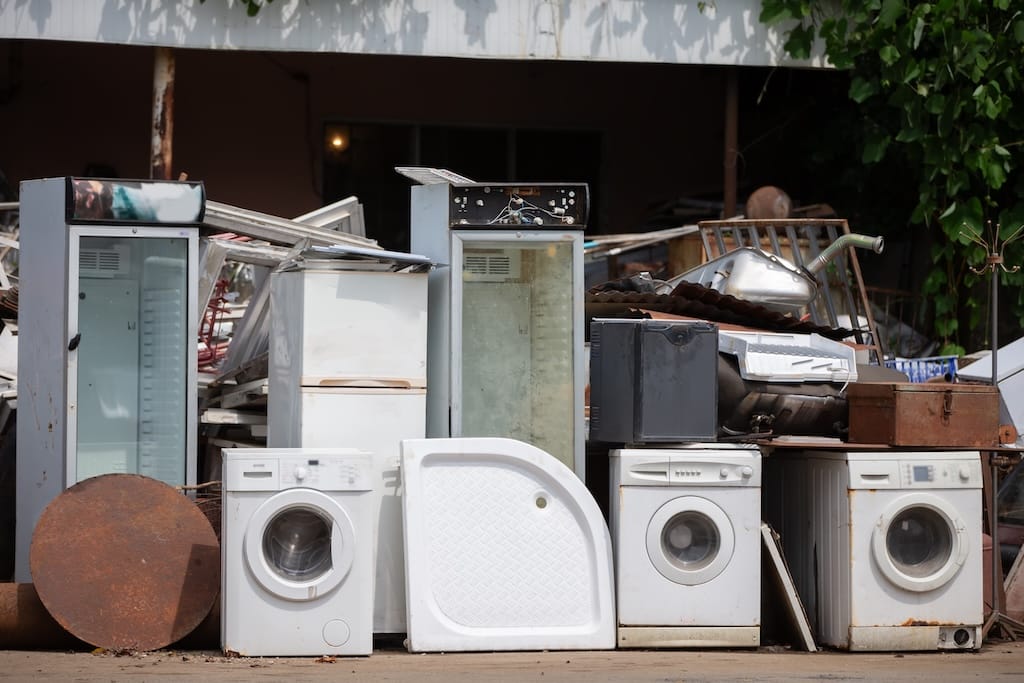
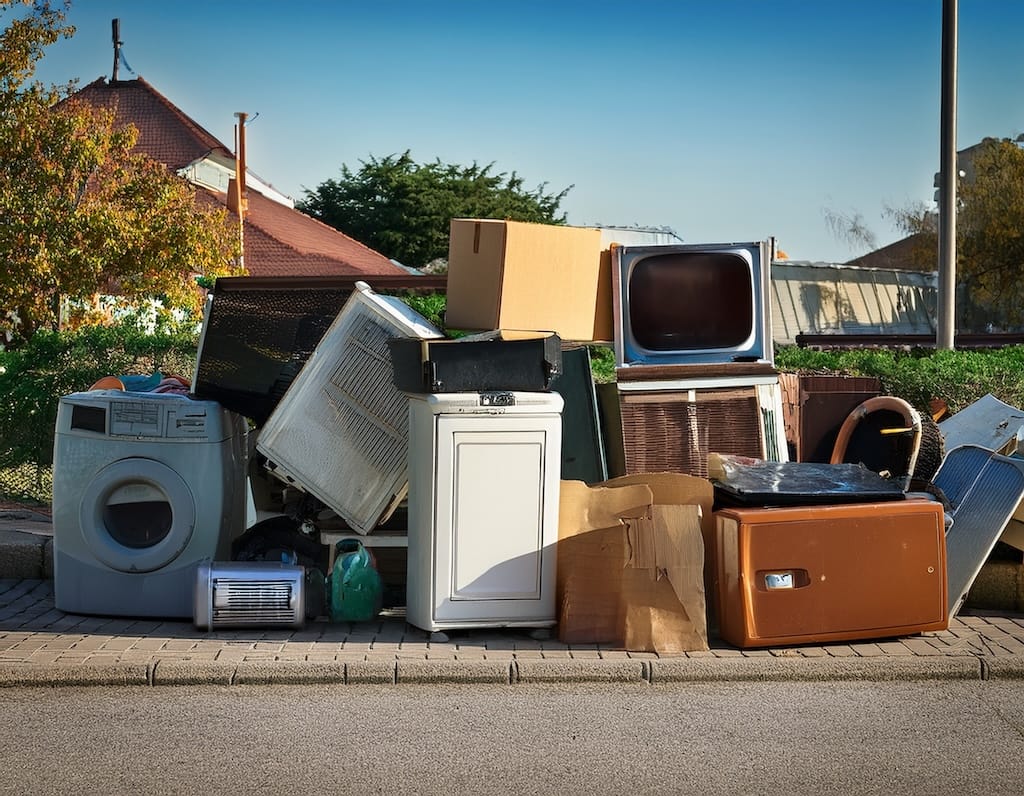
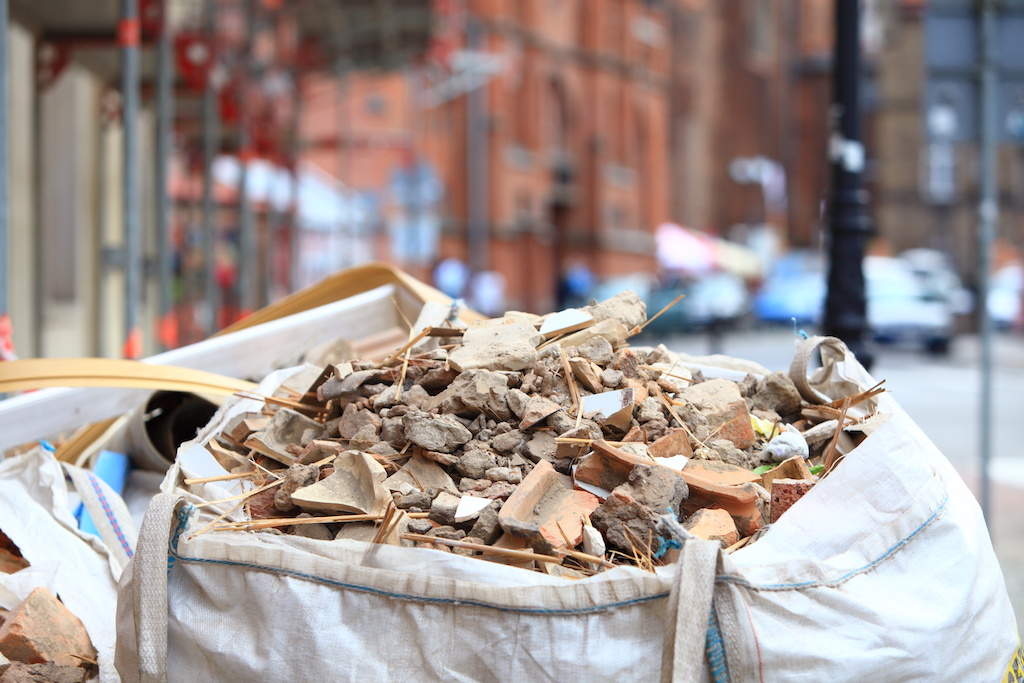
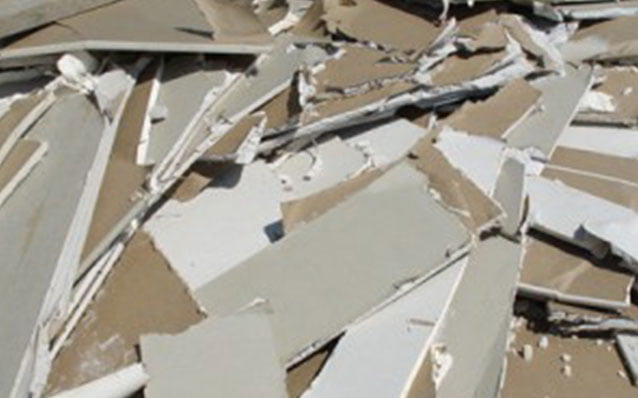
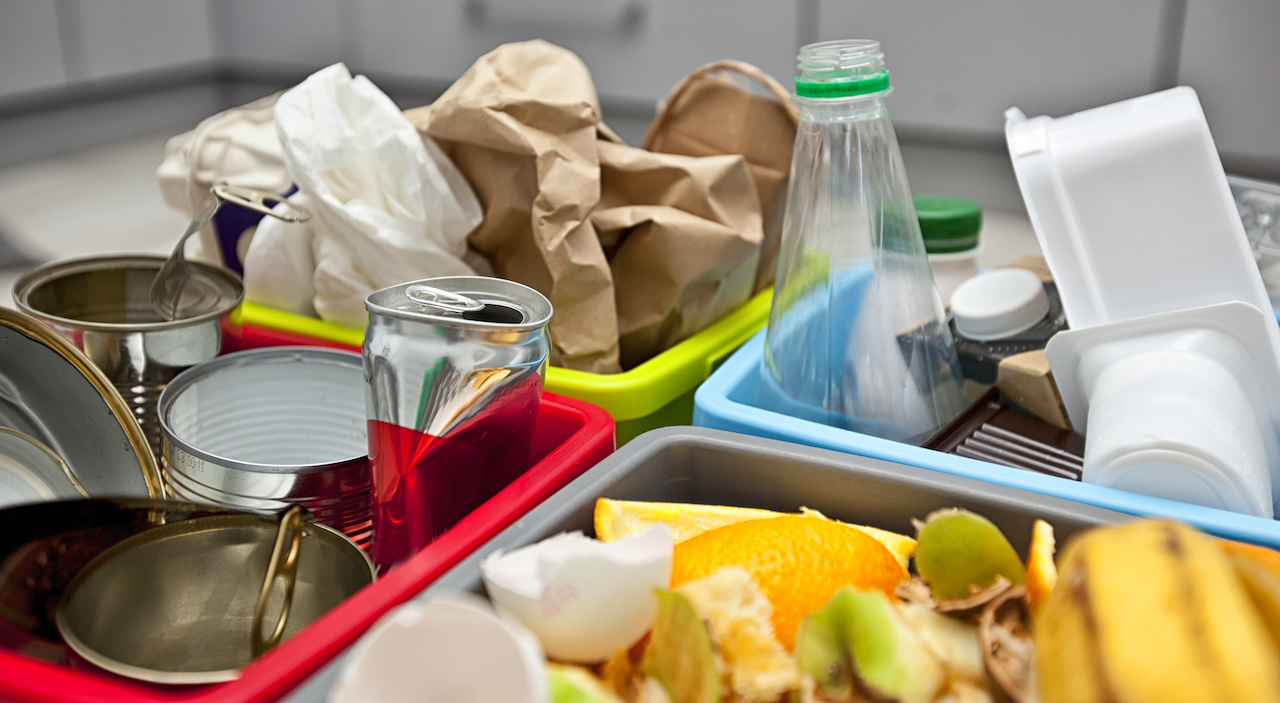
Kitchen renovations typically generate a lot of leftover construction debris in all different types, shapes, and sizes. From general rubbish like cardboard containers to larger debris like chunks of plasterboard, here are just some of the things you may need to dispose of after renovating your kitchen:
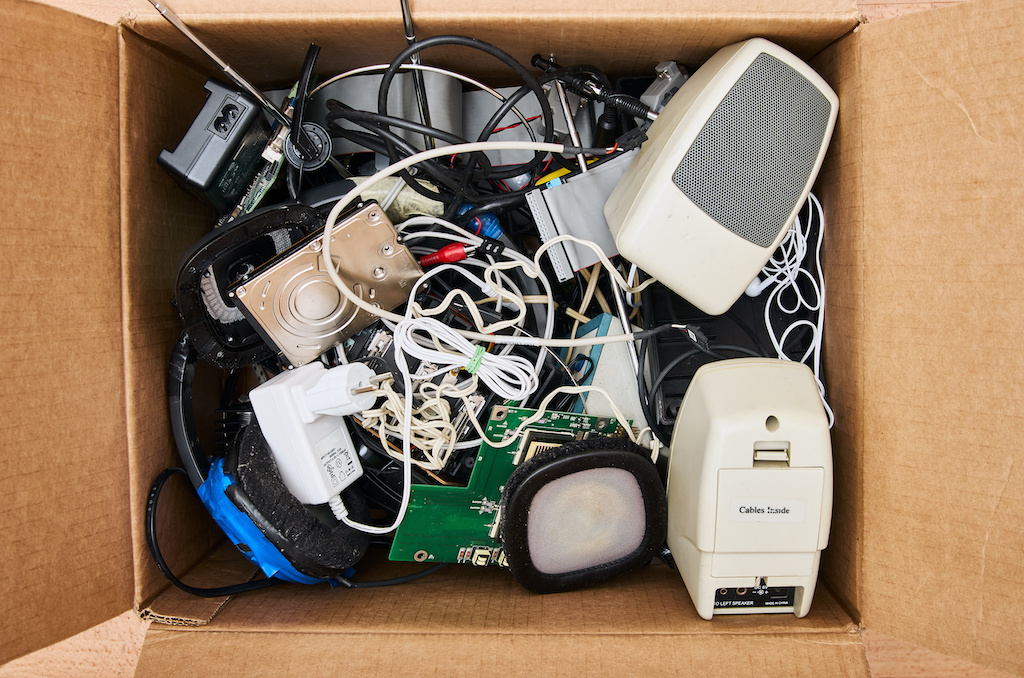
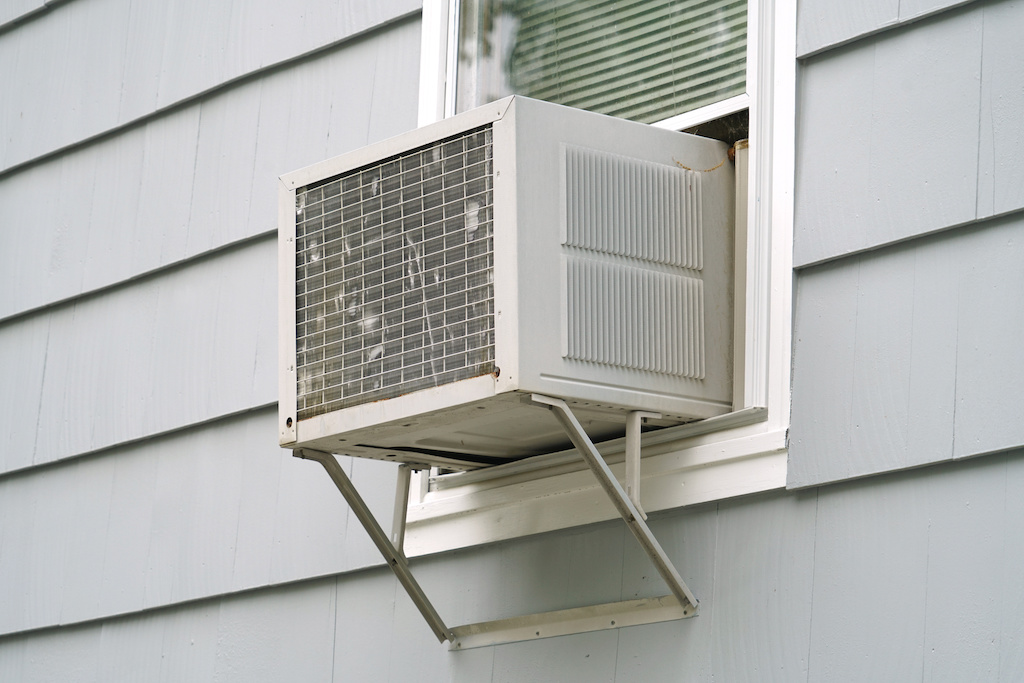
- Appliances
- Plumbing
- Screws & nails
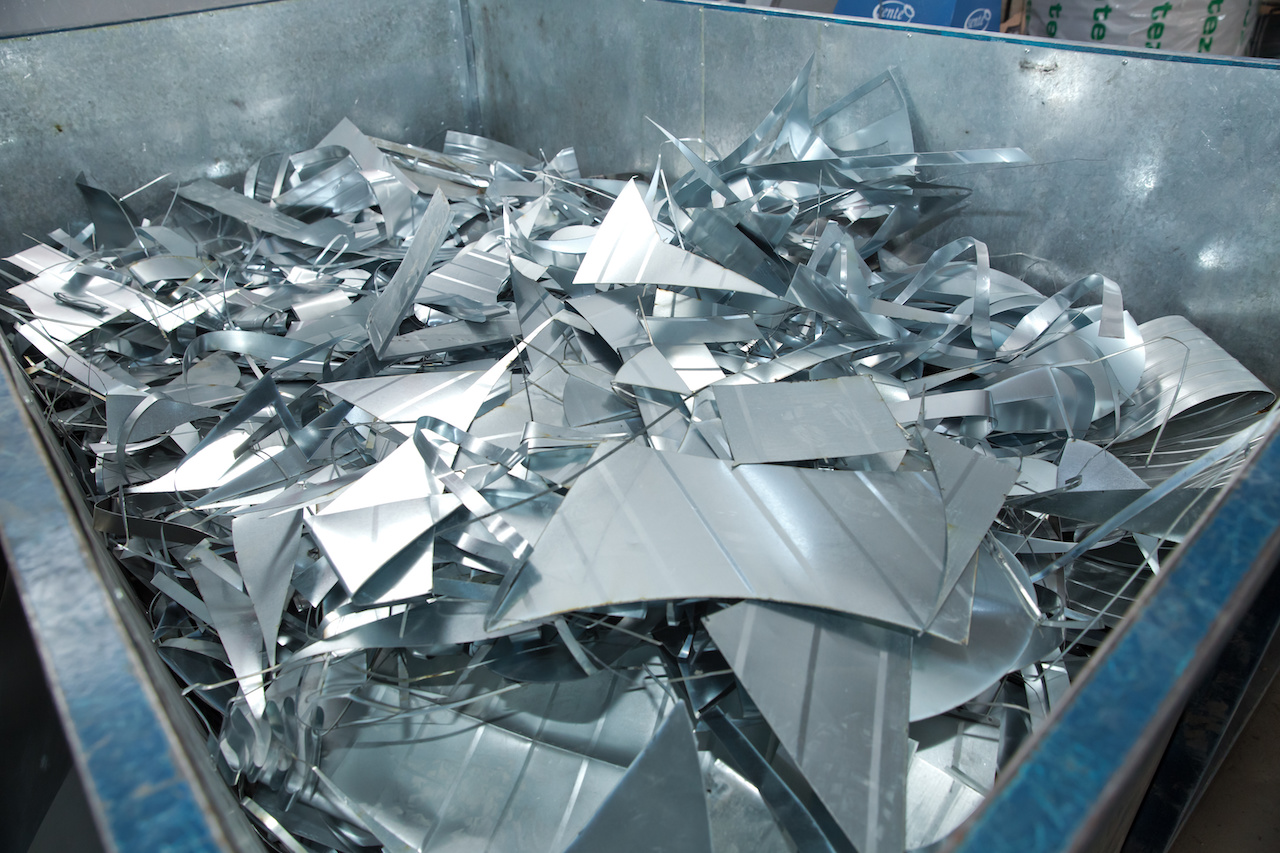
- Wood/metal cut-offs
- Insulation
- Tiles
- Concrete
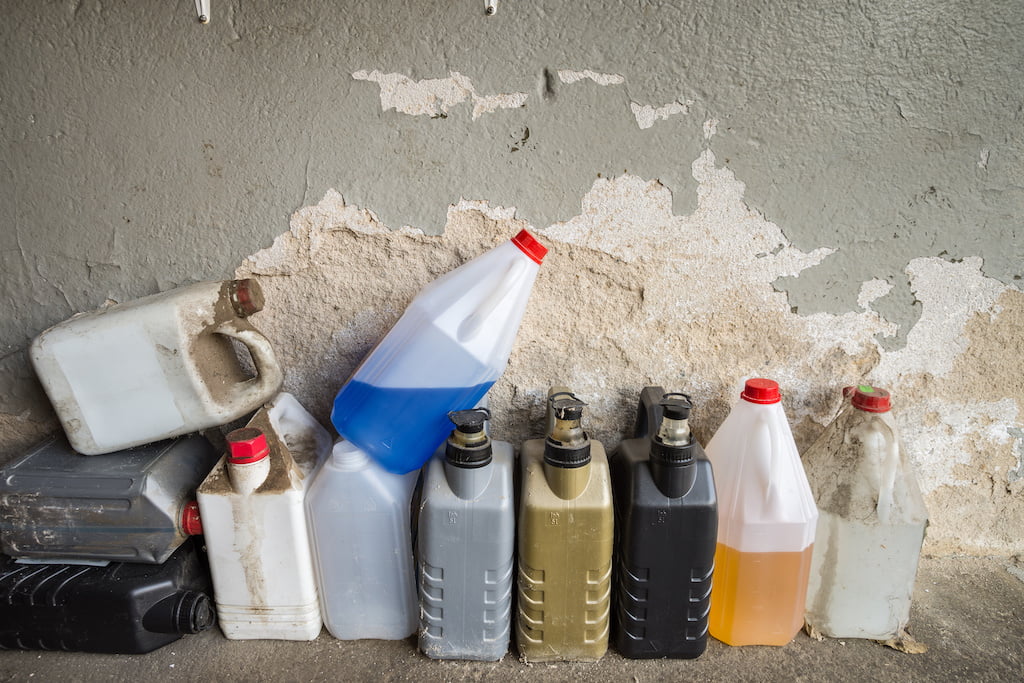
- Paint cans
- Sheetrock
- Flooring
- Rubble
- Shingles
- Bricks
- Carpeting
- Plastic sheeting
- And don’t forget the kitchen sink!
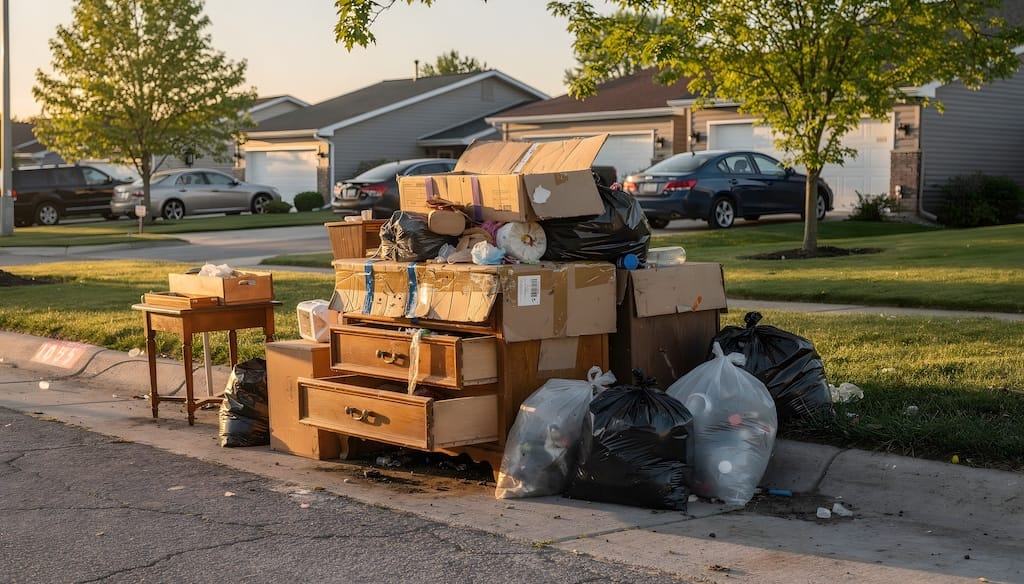
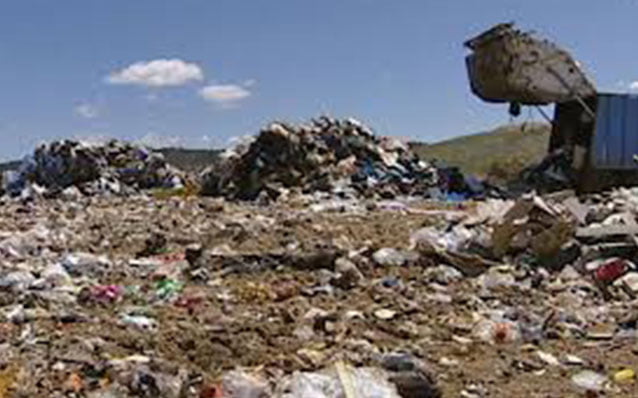
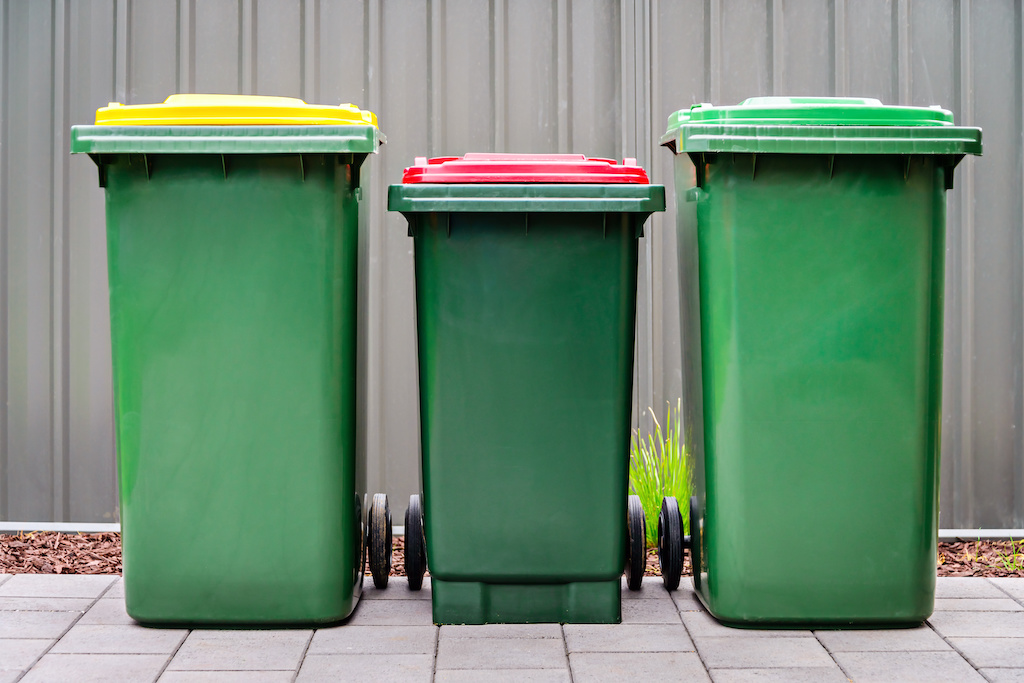
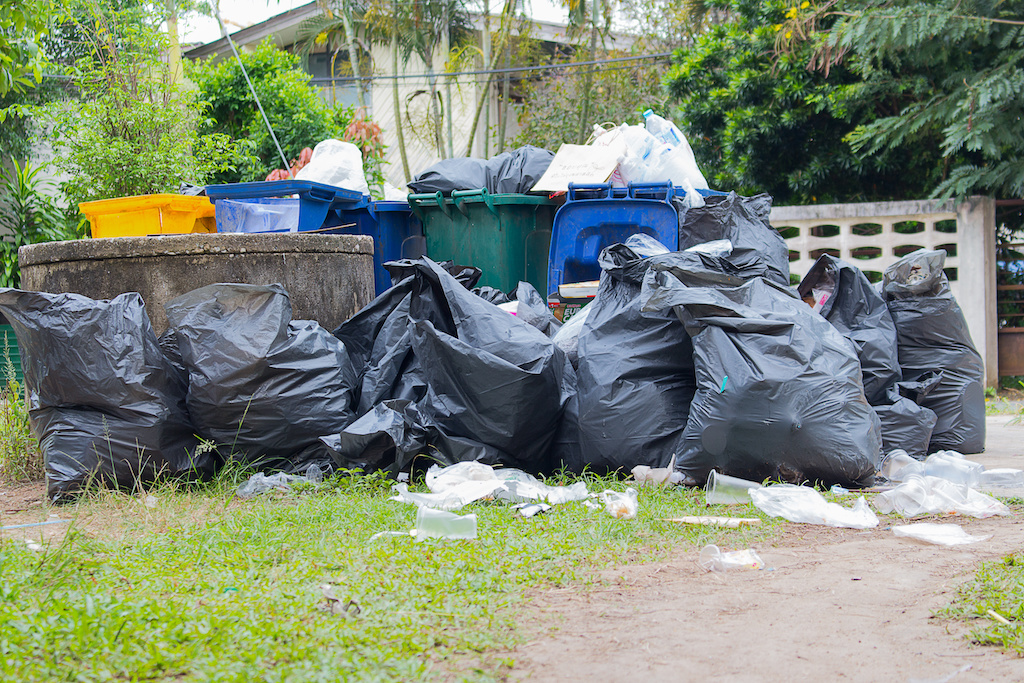
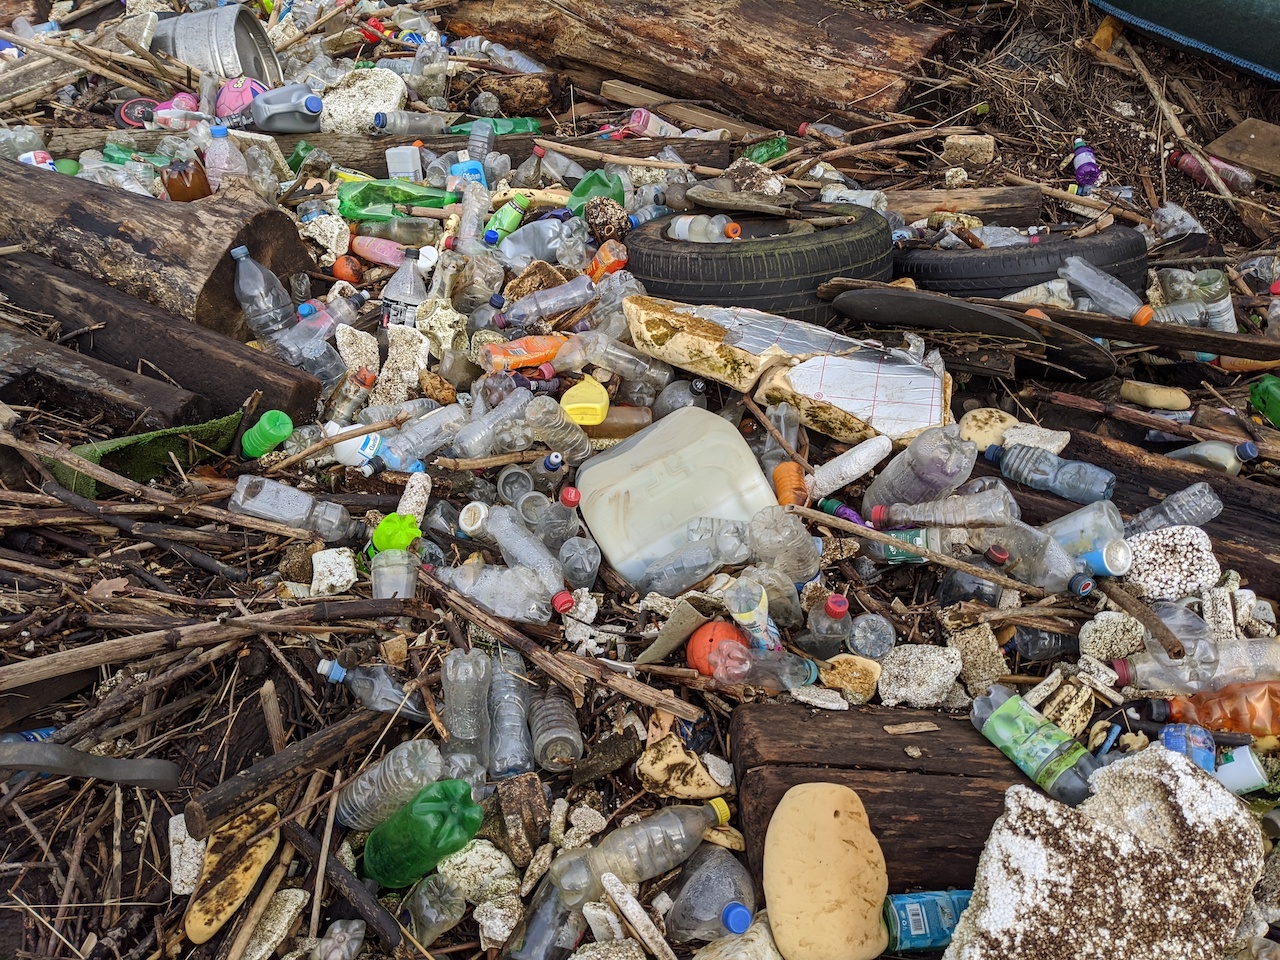
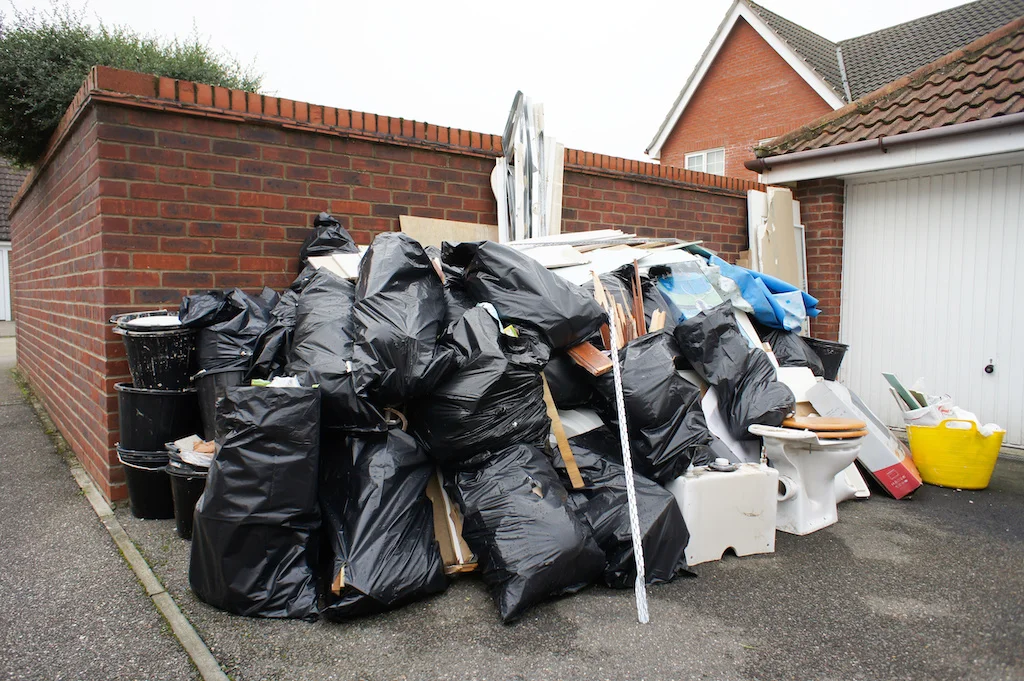
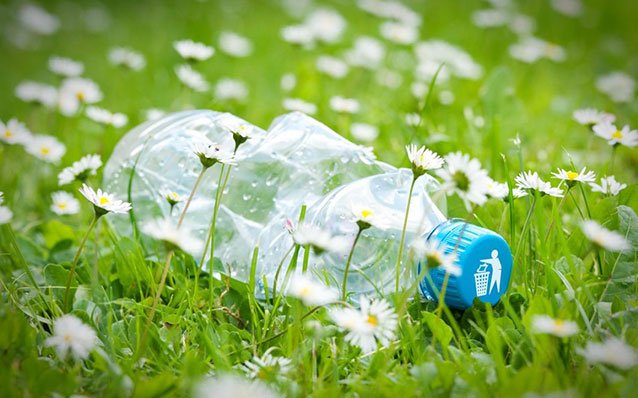
Unfortunately, much of this waste isn’t the sort of thing you can just chuck in your wheelie bins. Nor should it be left on the road for the next curbside collection as the council doesn’t accept building materials and similar waste. So how are you going to get rid of all your construction debris?
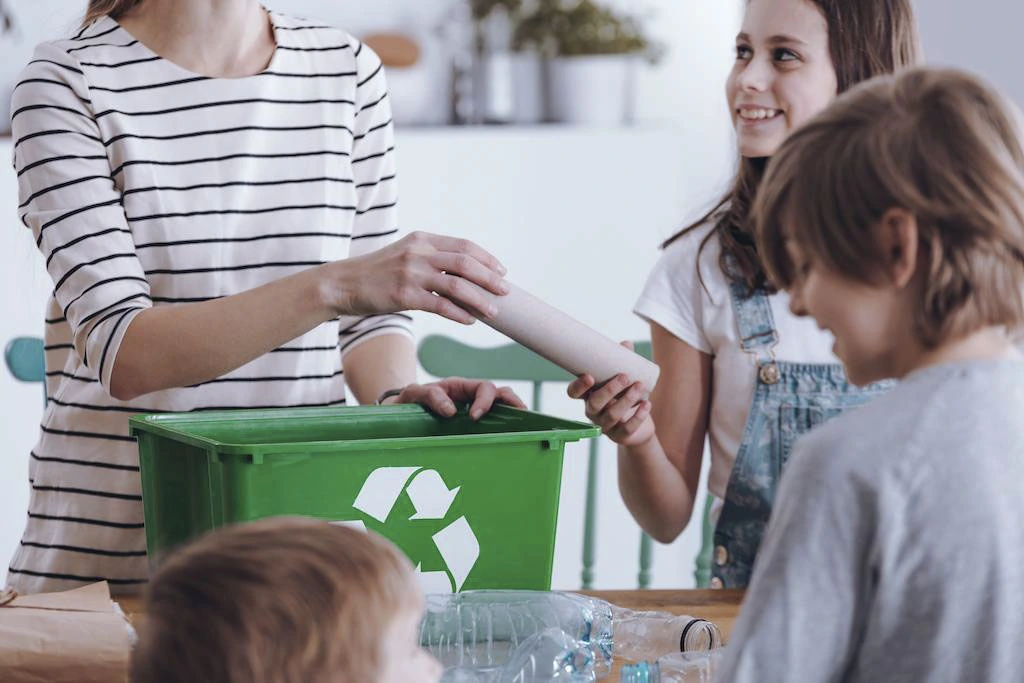
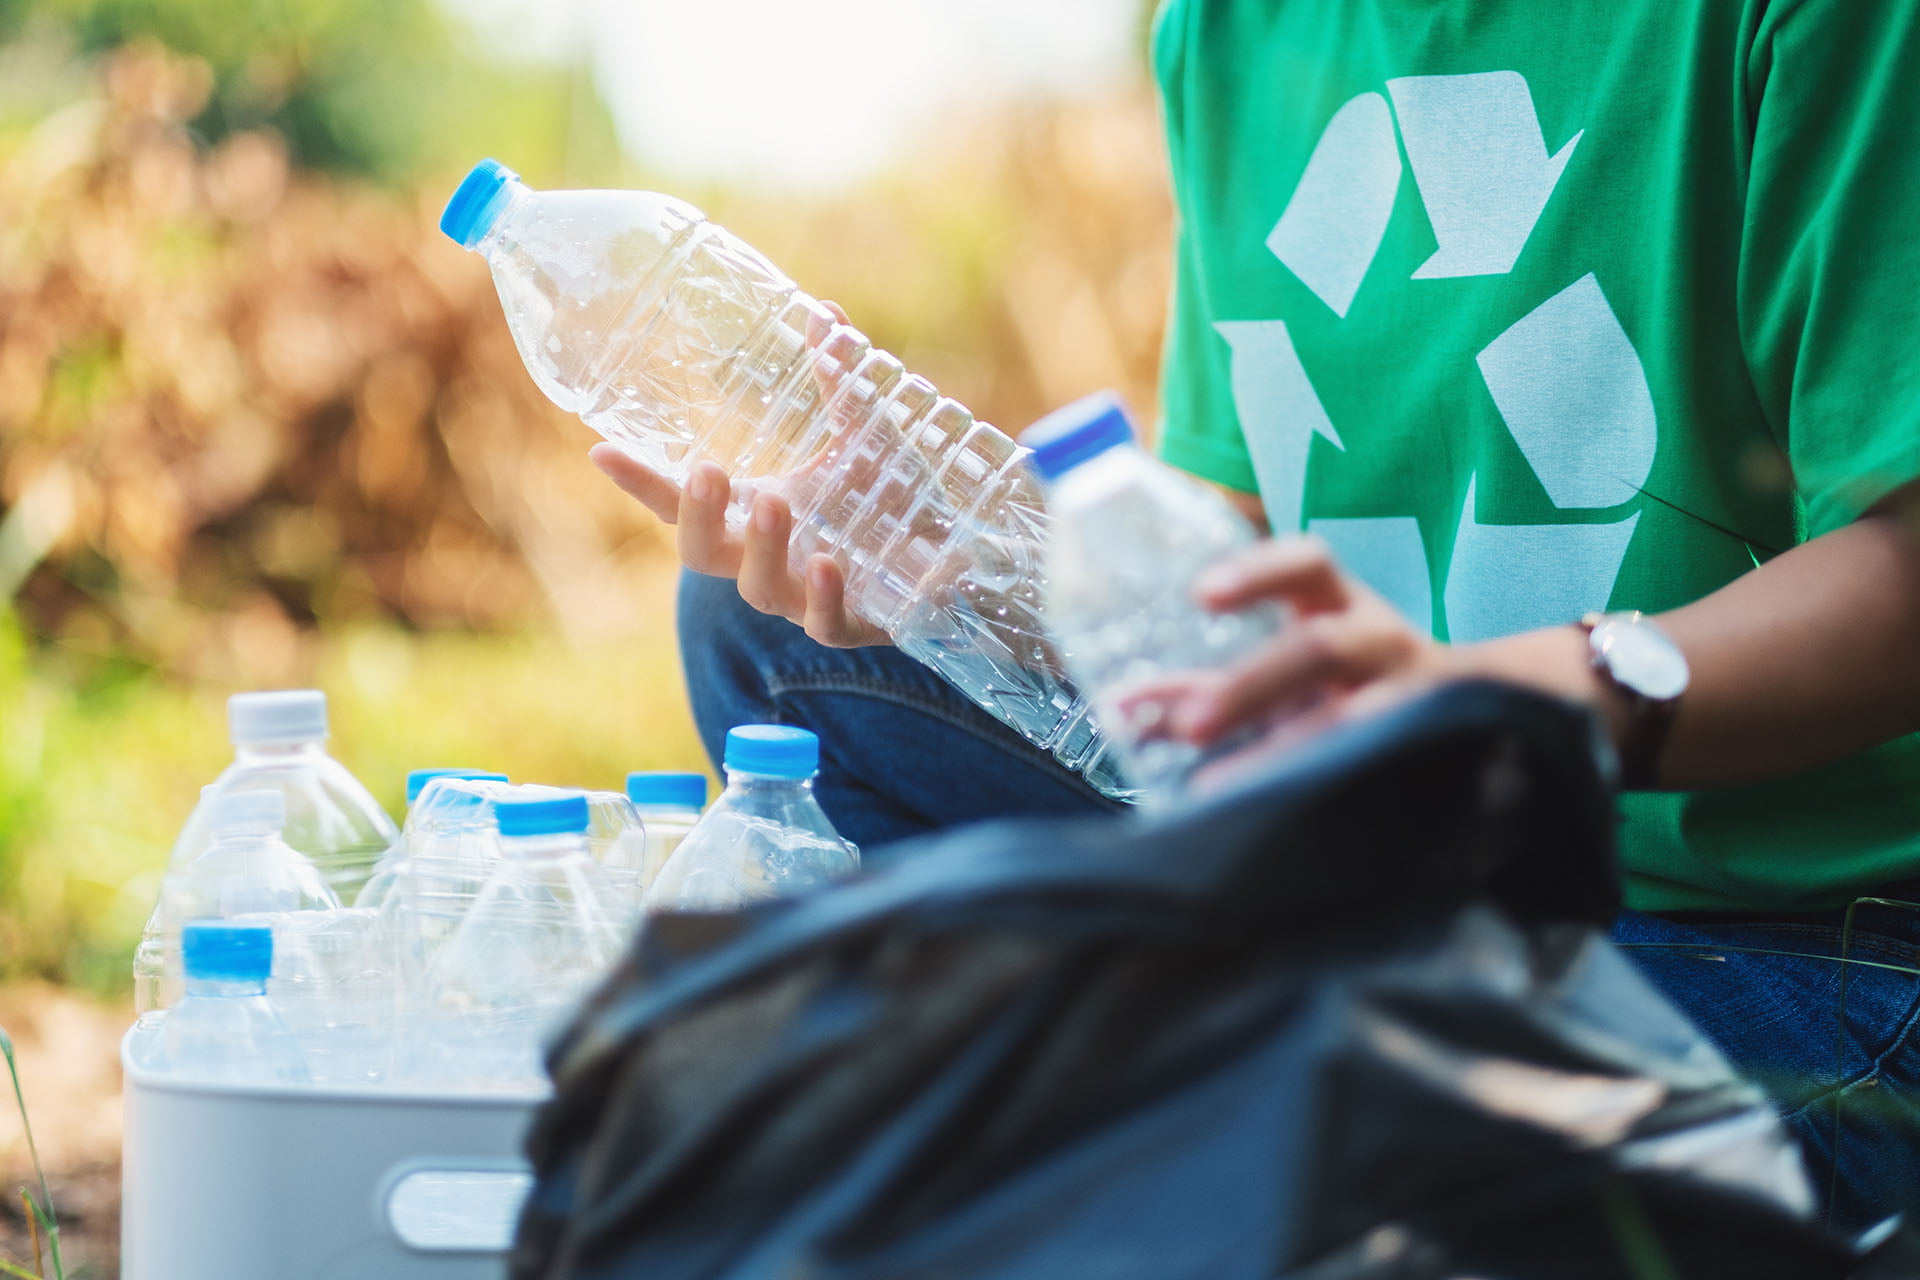
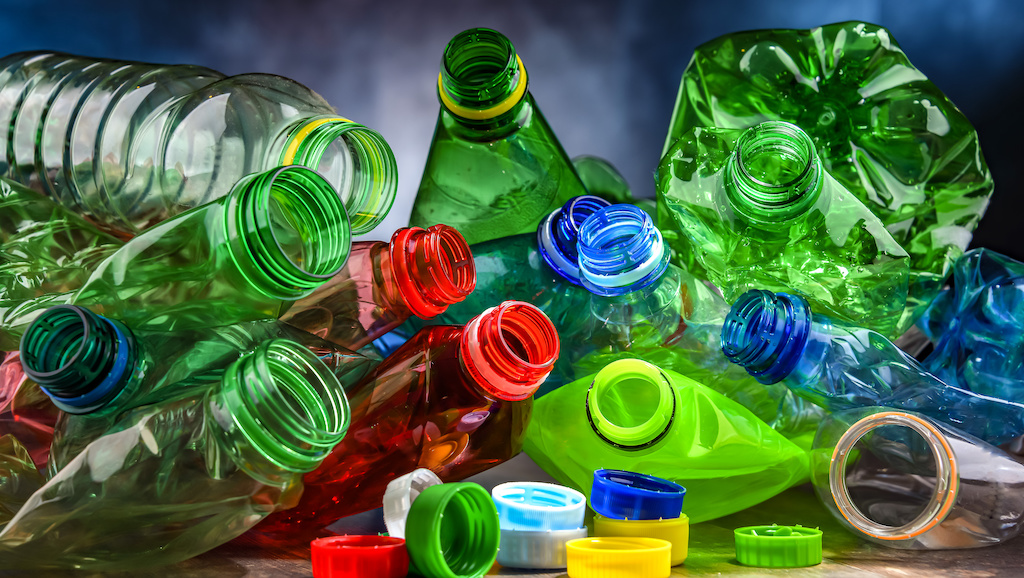
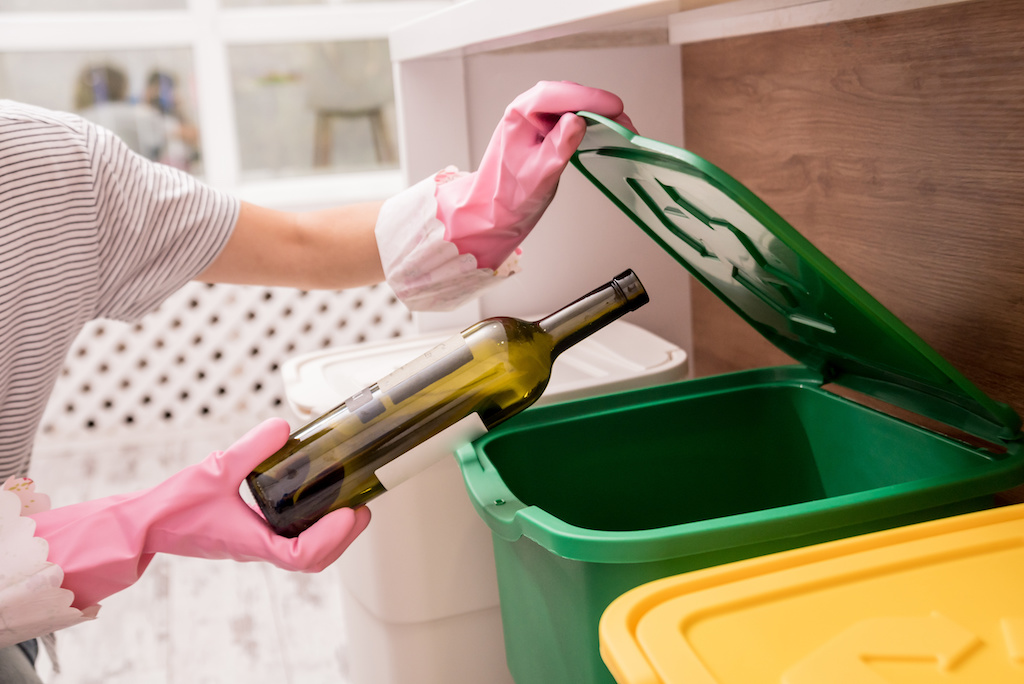
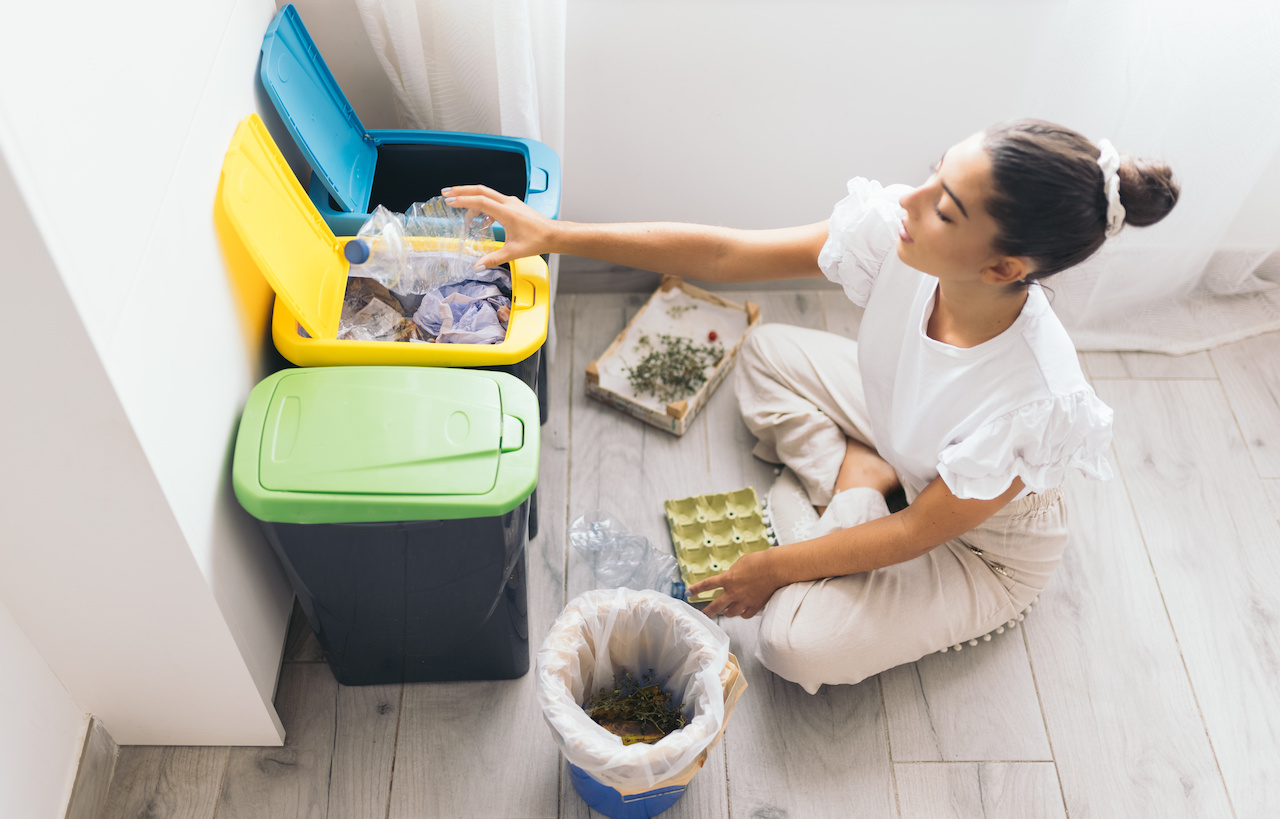
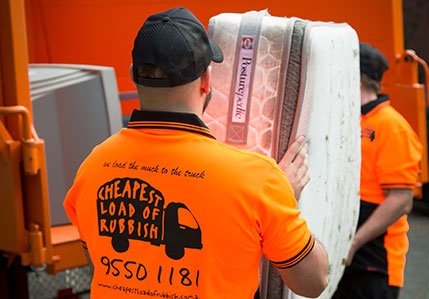
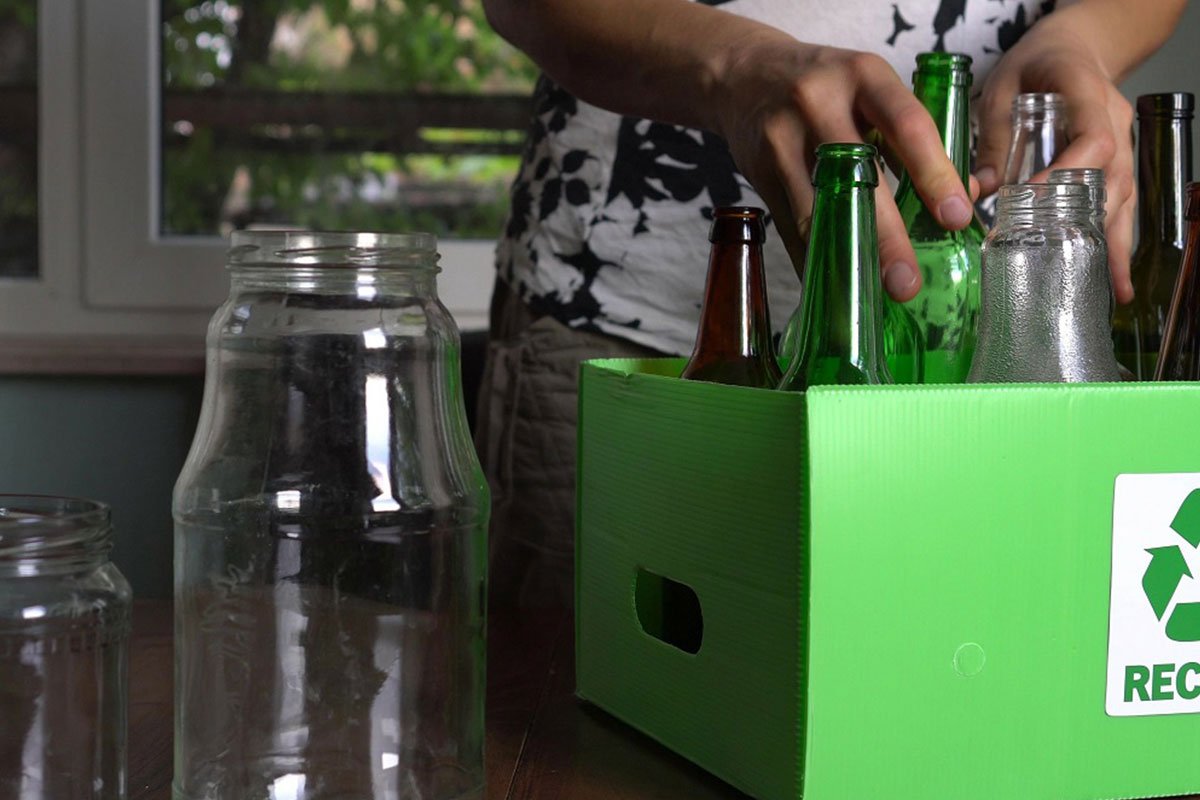
If you want a stress-free approach to disposing of all your reno waste or construction debris, you need a professional service for rubbish removal Sydney. Cheapest Load of Rubbish have a large fleet of rubbish trucks ready and waiting to take away all of your junk, no matter how big or small your pile is. Two guys arrive onsite in a truck, load up all of your waste, and just like that the job is done! Plus we pride ourselves on our environmentally friendly recycling methods.
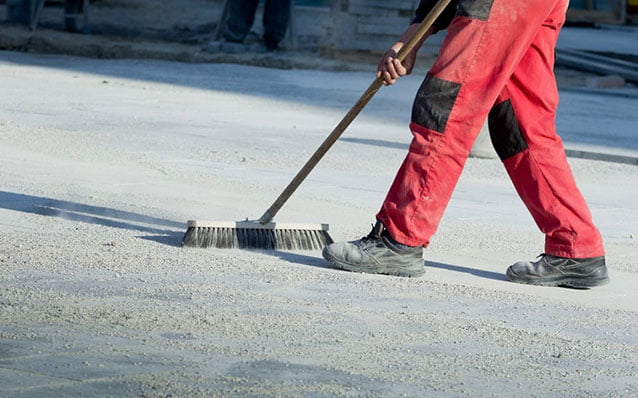
Wipe Everything
Once you’ve dealt with all the cut off waste and reno debris, it’s time to start clearing out all of that construction dust from your kitchen. While a wet cloth may seem like the most logical way to begin, dry dusting with a microfibre cloth is actually far more effective. You need to be extremely thorough, so give absolutely everything a decent dry wipe.
Wipe all hard surfaces from the ceiling to the floor, starting with the walls and the tops of kitchen cabinets, appliances, and shelves. Don’t forget to open all the cupboard doors and dust inside as you go. Then move on to all hard surfaces in the kitchen which includes cabinets, cupboards, shelves, countertops, appliances, doors, handles, and any other hardware. Don’t forget about all the fixtures in the kitchen too, such as lighting, curtains, and fans, vents, or ducts.
Vacuum Everything
Now that most of the dust has been wiped off everything and is covering the floor, it’s time to give everything a good vacuum. You should also give the walls a vacuum if you can, and don’t forget to vacuum any remaining dust inside the cupboards. Also, if any floors nearby are carpeted, you should give them a few good runs with the vacuum cleaner.
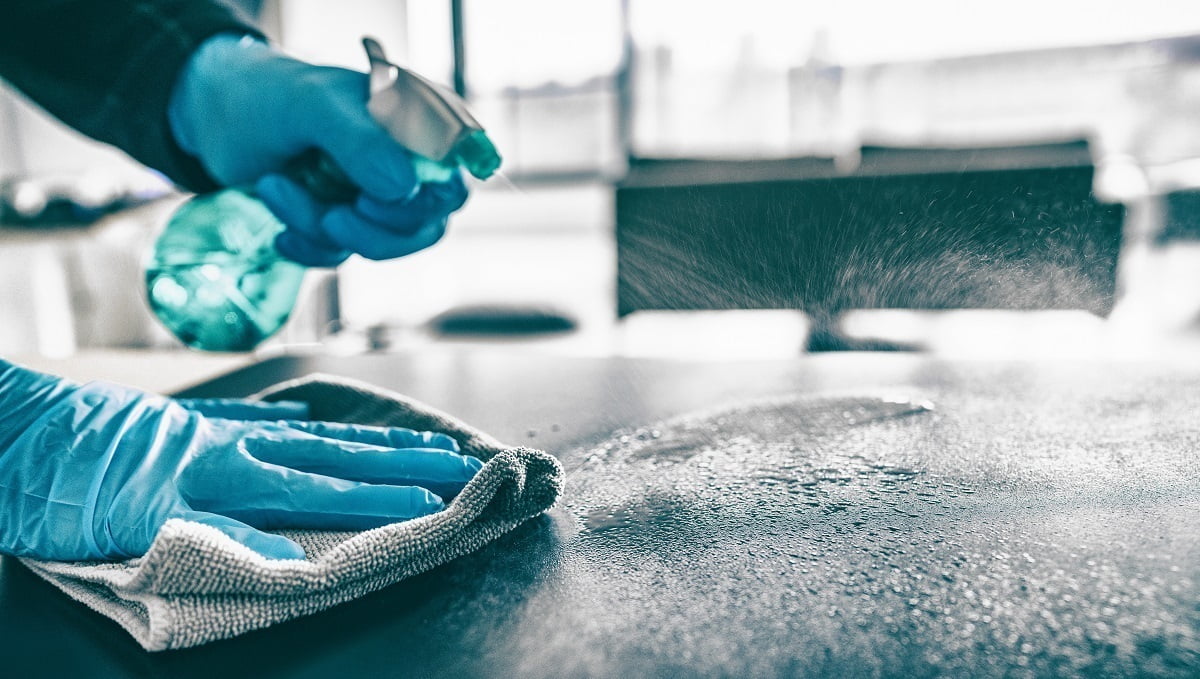
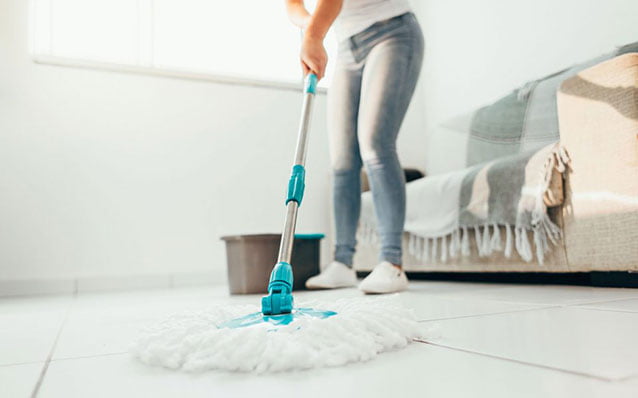
Wash Everything
Finally, once you’ve dusted and vacuumed everything, it’s time to go back and clean everything properly with cleaning products and disinfectant. Again you should be starting from the top down and finishing up by mopping the floor. Then wipe each area with a tissue on one finger to see how clean it is. If there’s any dust or dirty marks, give everything a second go over because this is where you prepare your food.
Safety First
Speaking of food preparation, all of the toxins from construction dust and other hazardous chemicals can take anywhere up to 7 days before completely settling down. As such, it’s a good idea not to use the kitchen for a week after finishing all post-renovation cleaning.